MultiTail allows tail multiple logs
SysAdmins and developers often need to access multiple log files at the same time during monitoring and control tasks. To achieve this, each log file is usually opened in a new shell. In the traditional wise way, i.e. tail -f /var/log/messages.
However, if you want to run tail logs in real time, MultiTail can be tail multiple logs pulled in.
Install MultiTail on Fedora
The EPEL repository must be added.
yum install epel-releaseInstall Multitail on Fedora or RHEL as follows.
yum install -y multitailMultiTail for Debian and Ubuntu
Multitail is installed on Debian with apt-get.
sudo apt-get update
sudo apt-get install multitail
Using MultiTail commands
By default, multitail does the same as tail -f, the files are displayed in real time to open two different files in one window, the basic syntax is:
multitail /var/log/apache2/access.log /var/log/apache2/error.logFor Debian above, and for Red Hat as follows, in addition, netstat -t shows the active connections to the web server:
multitail -cS apache -R 2 -l "netstat -t" /home/www/*/web/logs/access_logAll access_log logs are opened in the logs directories. The Apache Color schema displays the active connections to the web server.
The same output, but the first 3 logfiles in 3 columns, here is an Apache web server on CentOS:
multitail -s 3 -cS apache -R 3 -l "netstat -t" /home/www/*/web/logs/access_logPressing the ‘b’ key will display a list of the open log files, which can be selected individually by cursor.
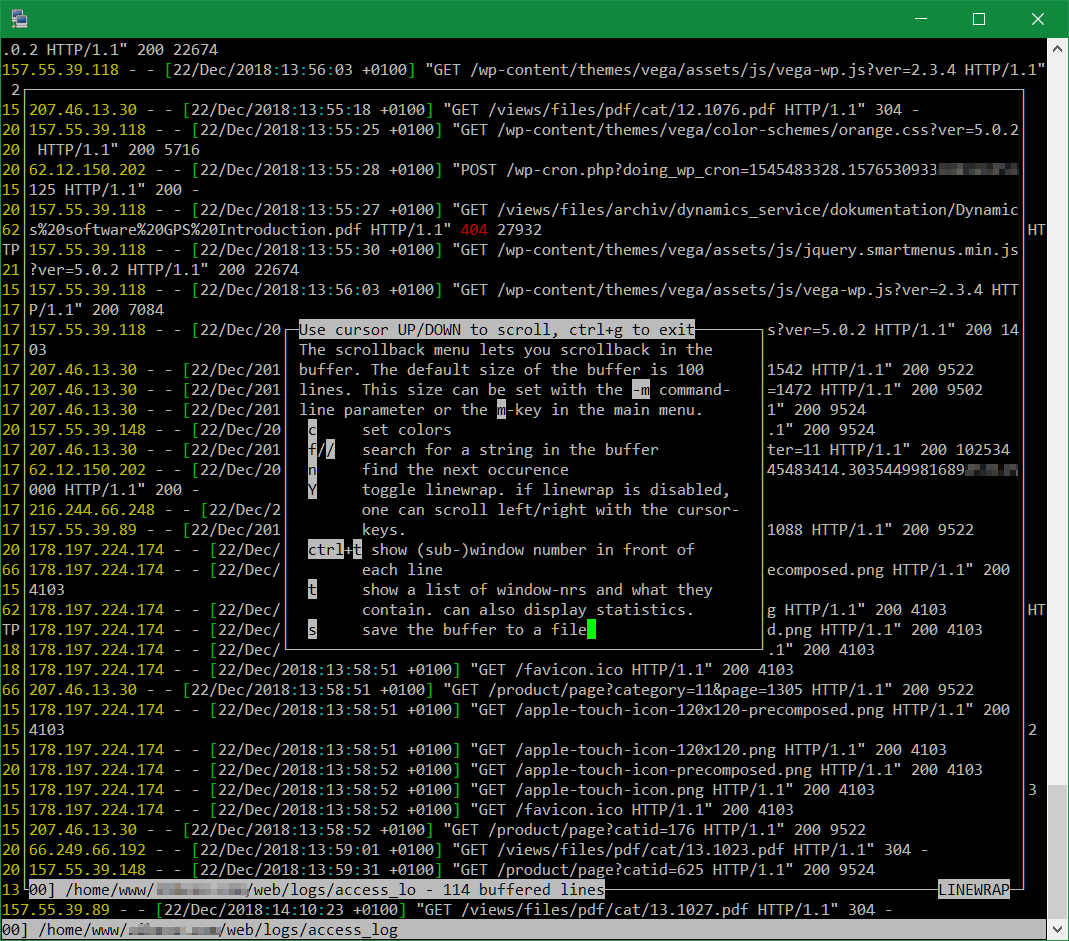
To scroll through the log files, press ‘b’ and scroll up or down with the cursor keys. For help you press ‘h’ to output the available option in a list.
MultiTail advanced tail features
When scrolling, typing ‘G’ or ‘gg’ can get to the beginning or end of the log file, with ‘q’ you return and then leave multitail.
Postfix also has a color scheme, the syntax for /var/log/maillog as follows:
multitail -cS postfix -n 1000 /var/log/maillogMany color schemes are defined in the /etc/multitail.conf configuration. For example for Asterisk, Bind, Samba, tcpdump and many more, new ones can be added, or the existing ones can be modified.
To prevent the multitail line with the parameters from having to be re-entered each time, the line can be executed from a script, the following lines can be easily inserted into a terminal:
cat <<EOF> /usr/bin/mtail
#!/bin/bash
multitail -cS apache -l "netstat -t" /home/www/*/web/logs/access_log
EOF
The script /usr/bin/mtail still needs to be made executable:
chmod +x /usr/bin/mtailHere are just a few basic features of the multitail command. A complete list of options can be found in the multitail man page. With multitail -h the syntax help is output with a wide selection of possible parameters.